 I was several years into beekeeping before I learned how to process wax. I had tried it once, early on, and ended up with such a mess in the metal bowl I was using that I just hid the bowl away rather than figure out how to fix it. Now I know that having clean wax to make candles and other products is all about having the right tools.
You will need the following equipment:
• a crockpot
• a slotted spoon
• a heat gun
• a makeshift double-boiler
• a small, fine-mesh metal sieve
• Charmin’s toilet paper
• a second tin can
• an ice cube tray or silicon wax mold
Ideally, you’ll want to have a set of these tools just for processing wax. It is time-consuming to clean wax from these items (except for the heat gun and the bottom pot of your “double-boiler”), and slumgum is very difficult to remove from the crockpot and the top pot of your double-boiler.
 (Slumgum is the crud that separates out of the wax. It’s a mix of honey and other impurities cooking into a sticky, frothy brown goo.)
There are three steps to processing wax:
• First Melt – where you remove the large debris, such as cocoons
• Second Melt – where you filter out the small debris
• Third Melt – where you pour the filtered wax into molds
Step One
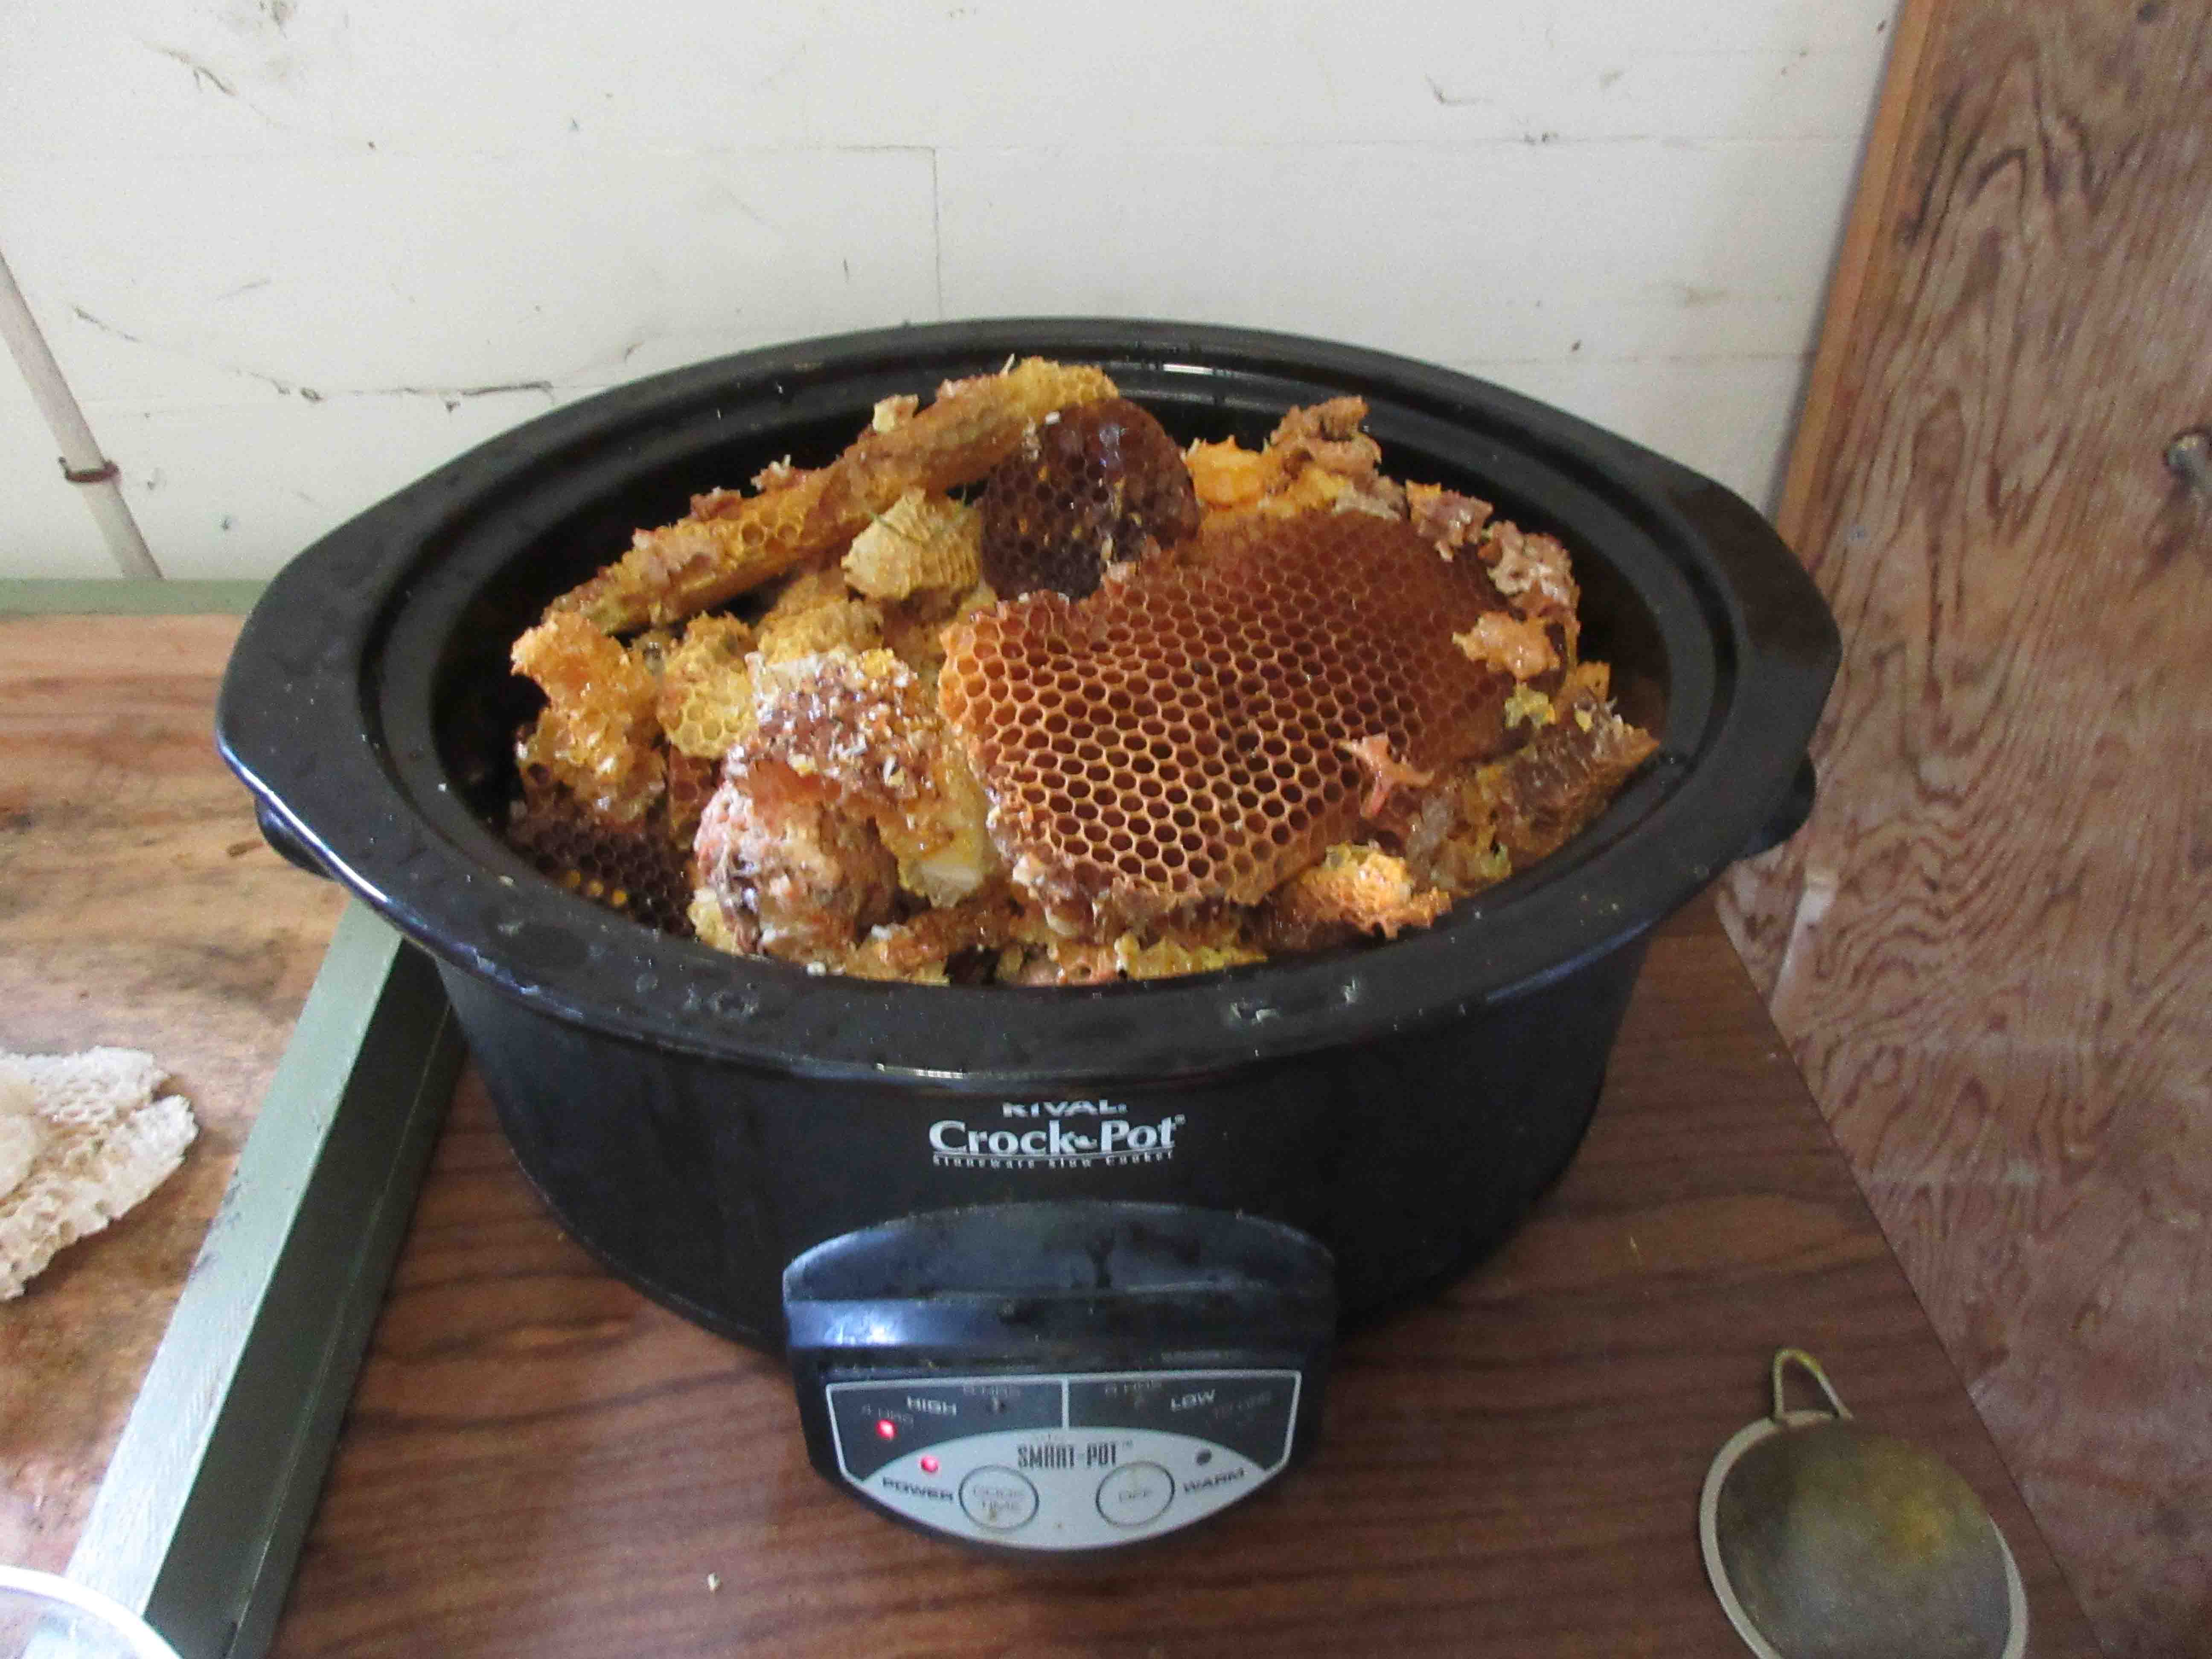 The first melt occurs in the crockpot. Add three inches of water in the bottom of the pot. Add the raw wax. Turn on the heat. It only takes 15-30 minutes for all the wax to melt, depending on how much you added.
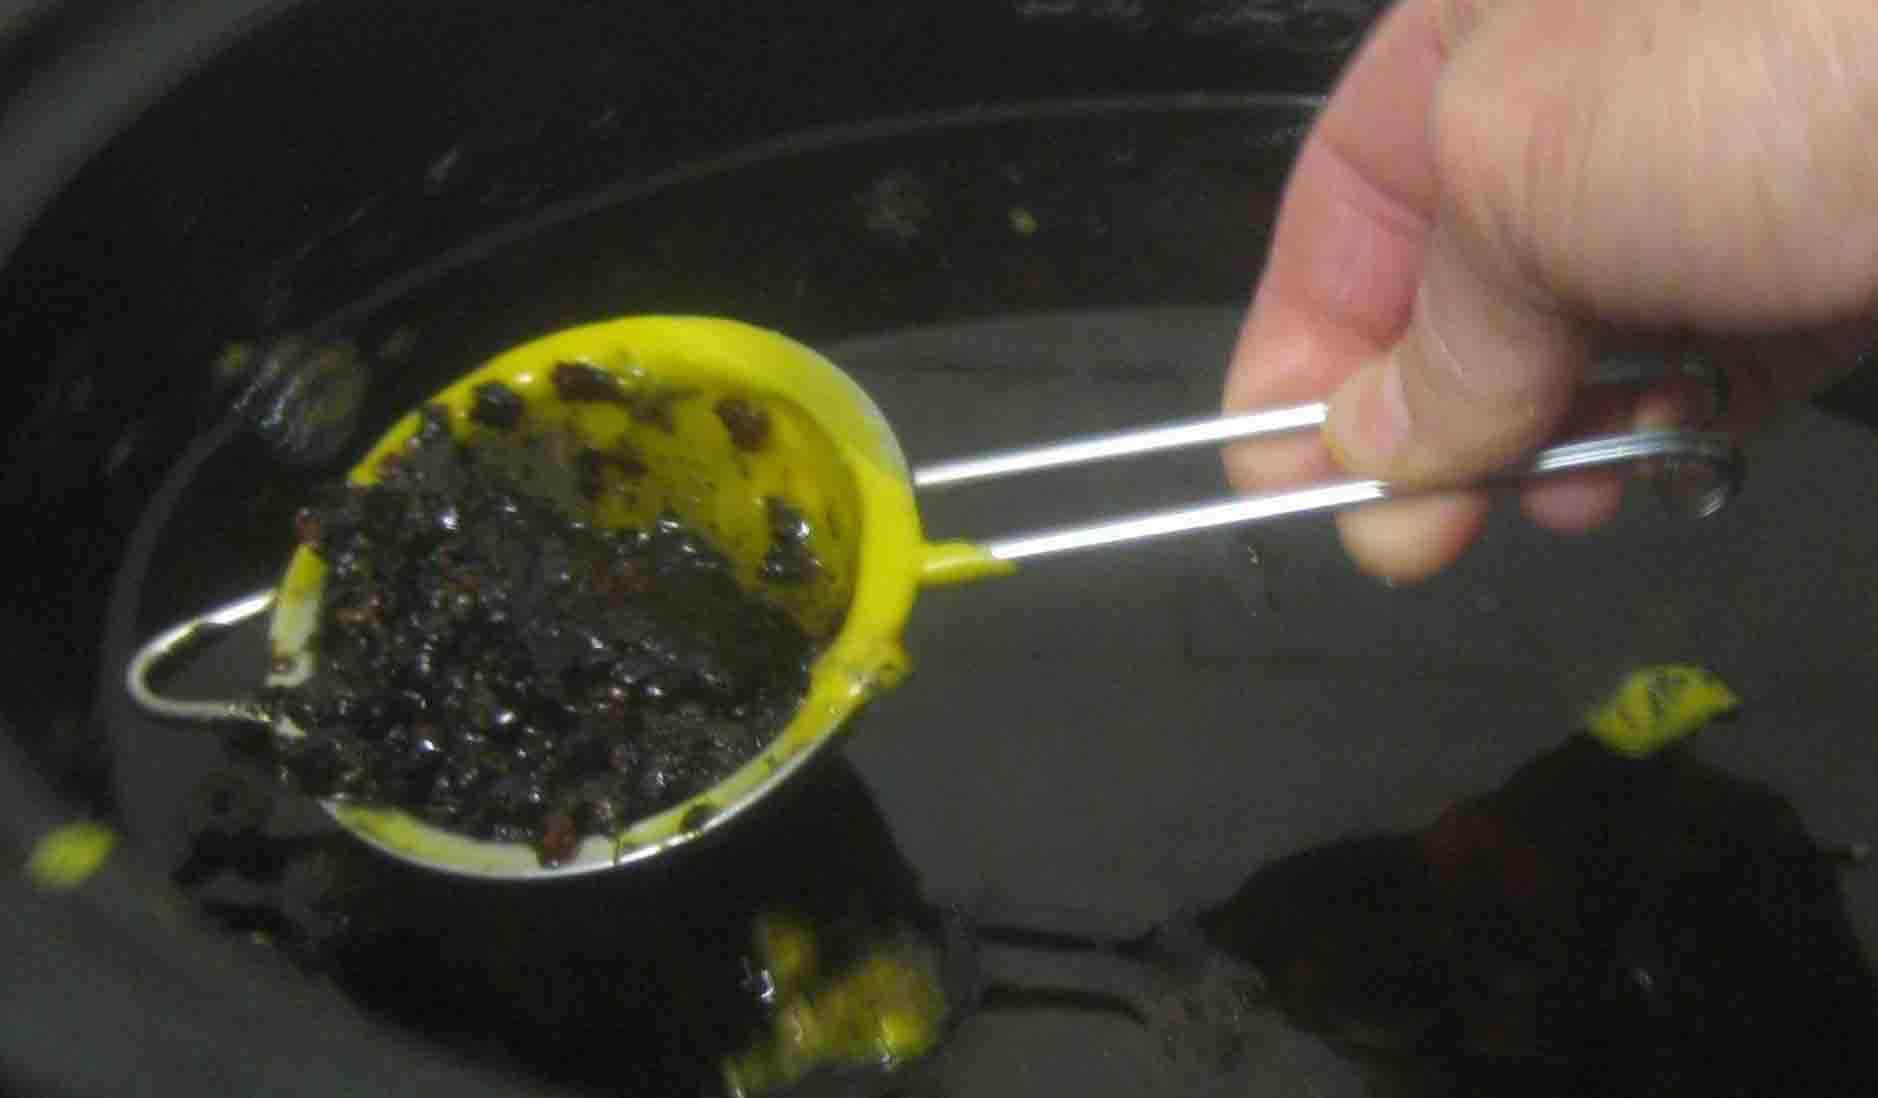
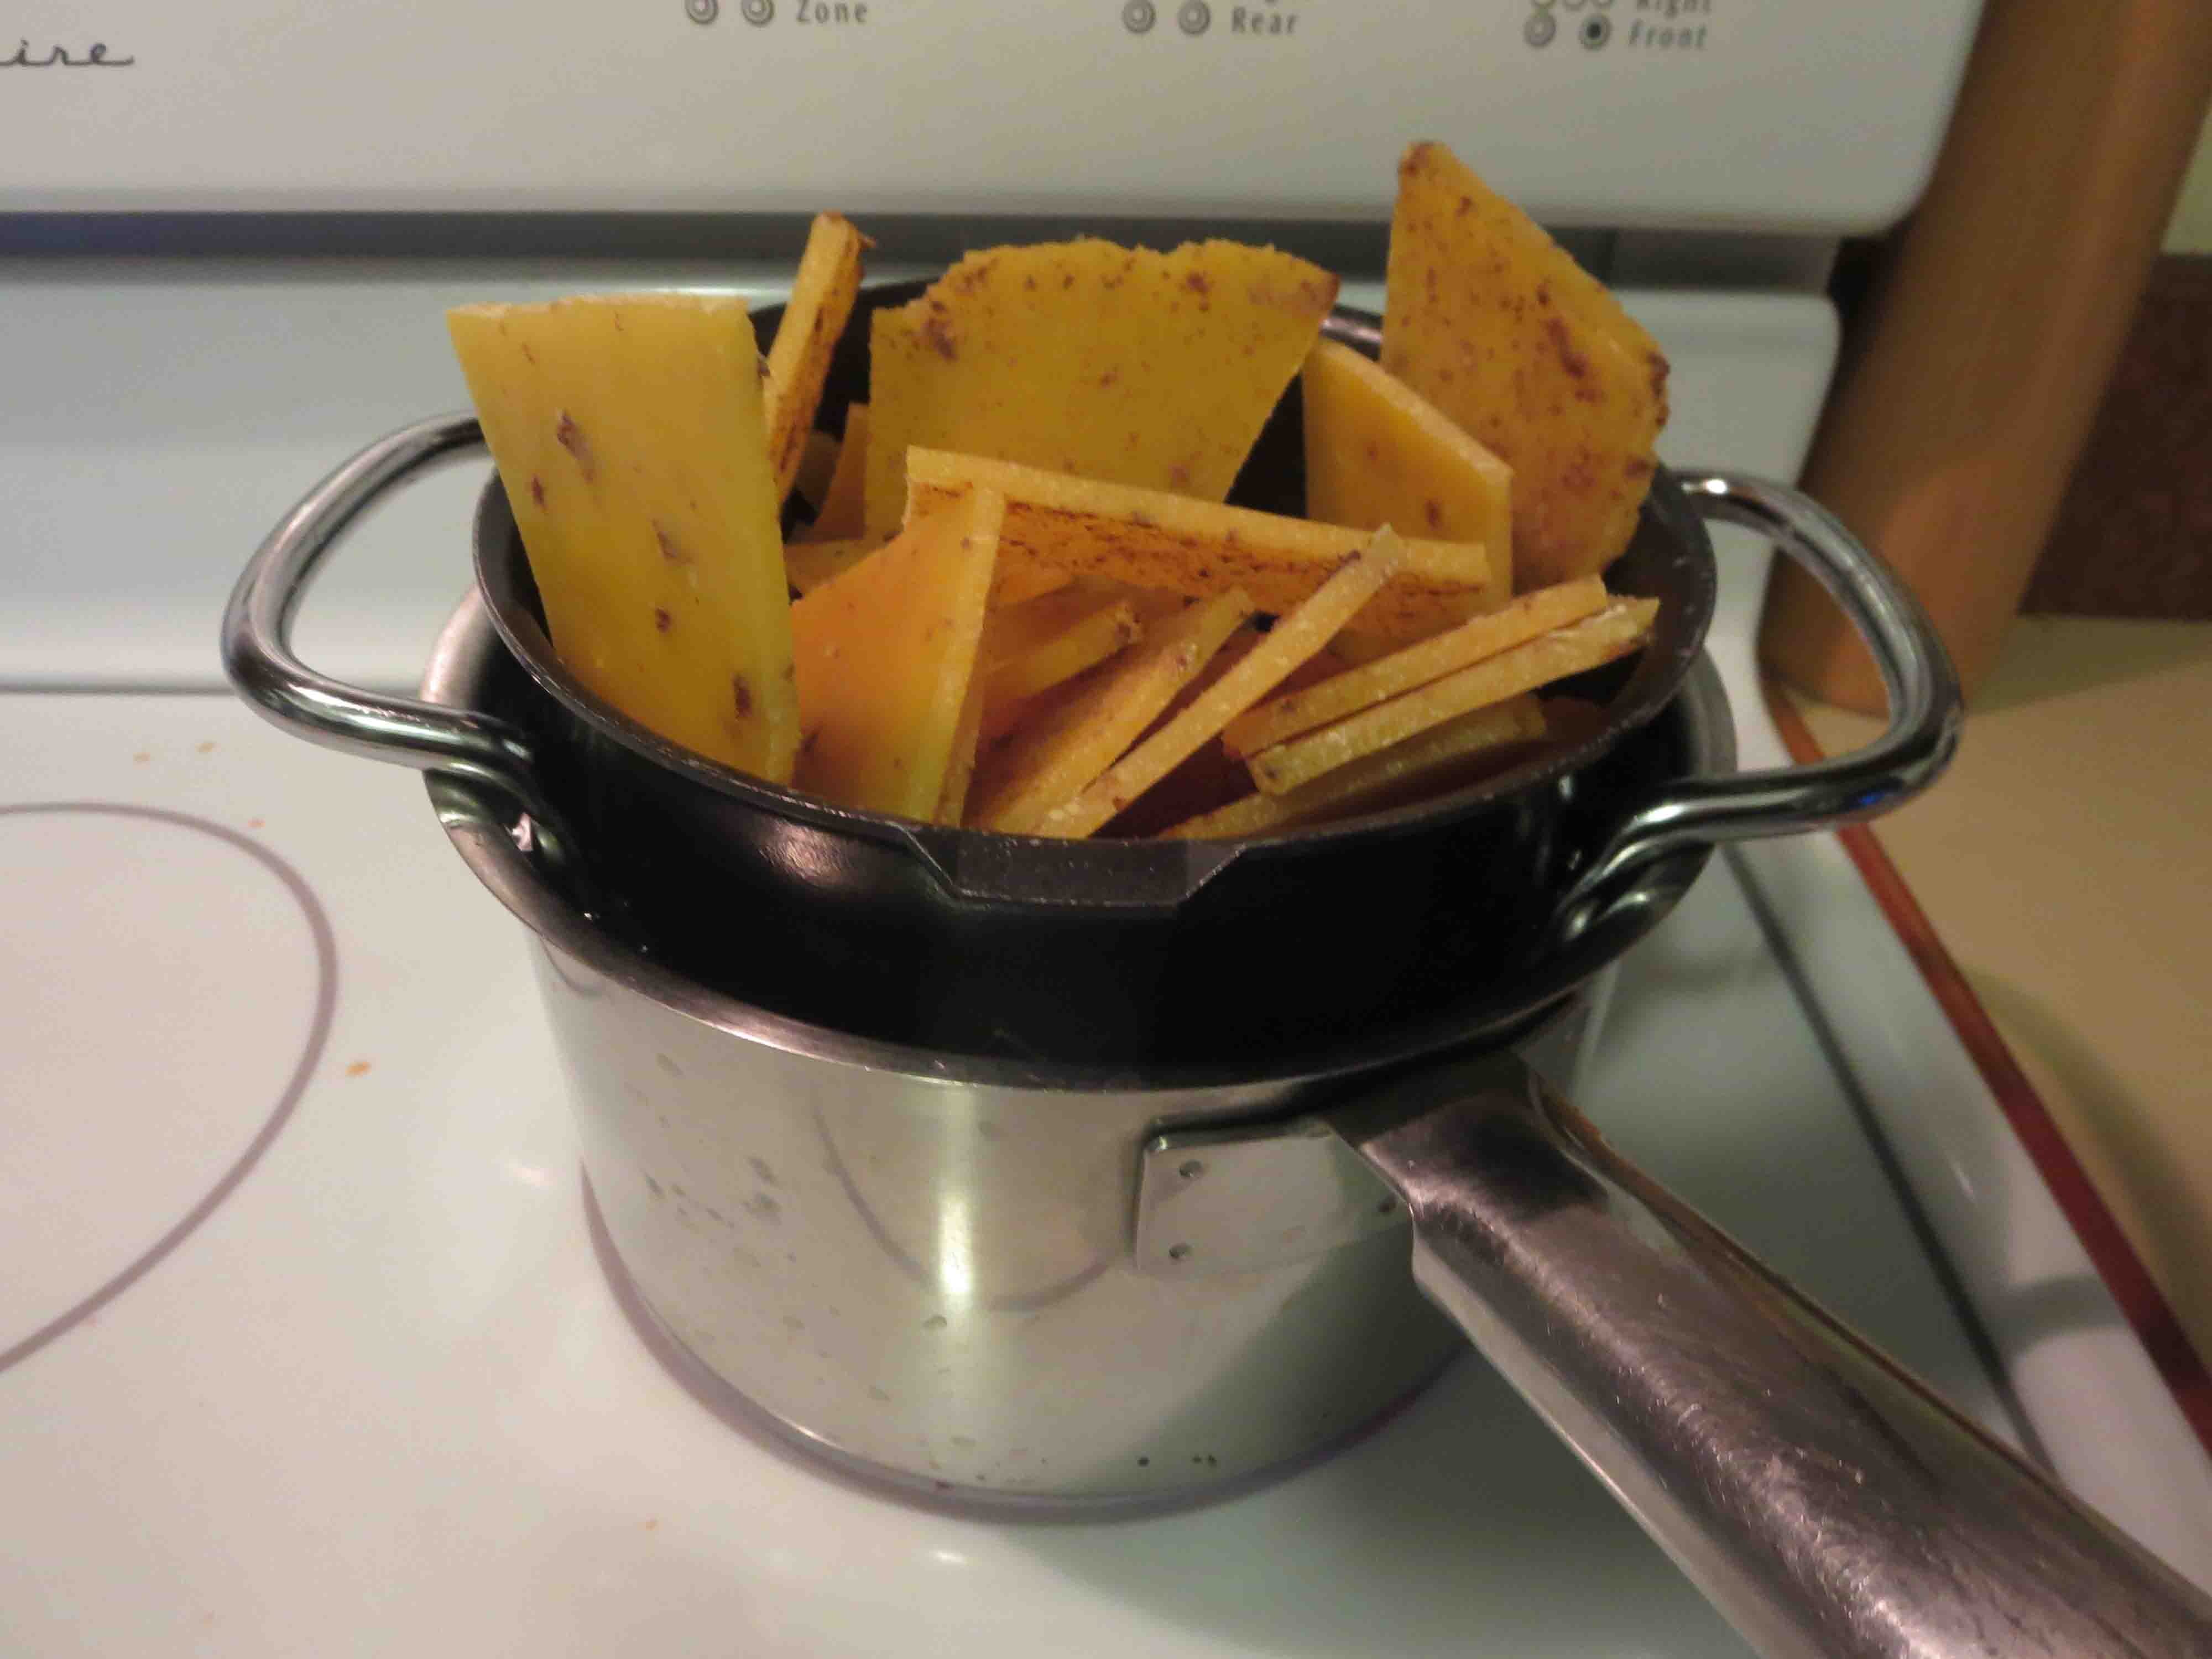
When the wax has melted, use a slotted spoon to scoop out the floating debris – slumgum and old cocoons. These things are difficult to see against the black backdrop of the crockpot, so be patient and take your time. The more crud you get out now the less you have to deal with later. Dump the slumgum into a paper bag (it makes great fire starter). When the slotted spoon becomes too encased, peel off the wax and put it in the pot to remelt, or use the heat gun to melt it back into the pot.
Let the wax cool. The layer of water, in addition to absorbing some of the impurities, will keep the wax suspended from the bottom of the crockpot while it cools. The wax will contract as it cools, usually pulling free from the crockpot walls.
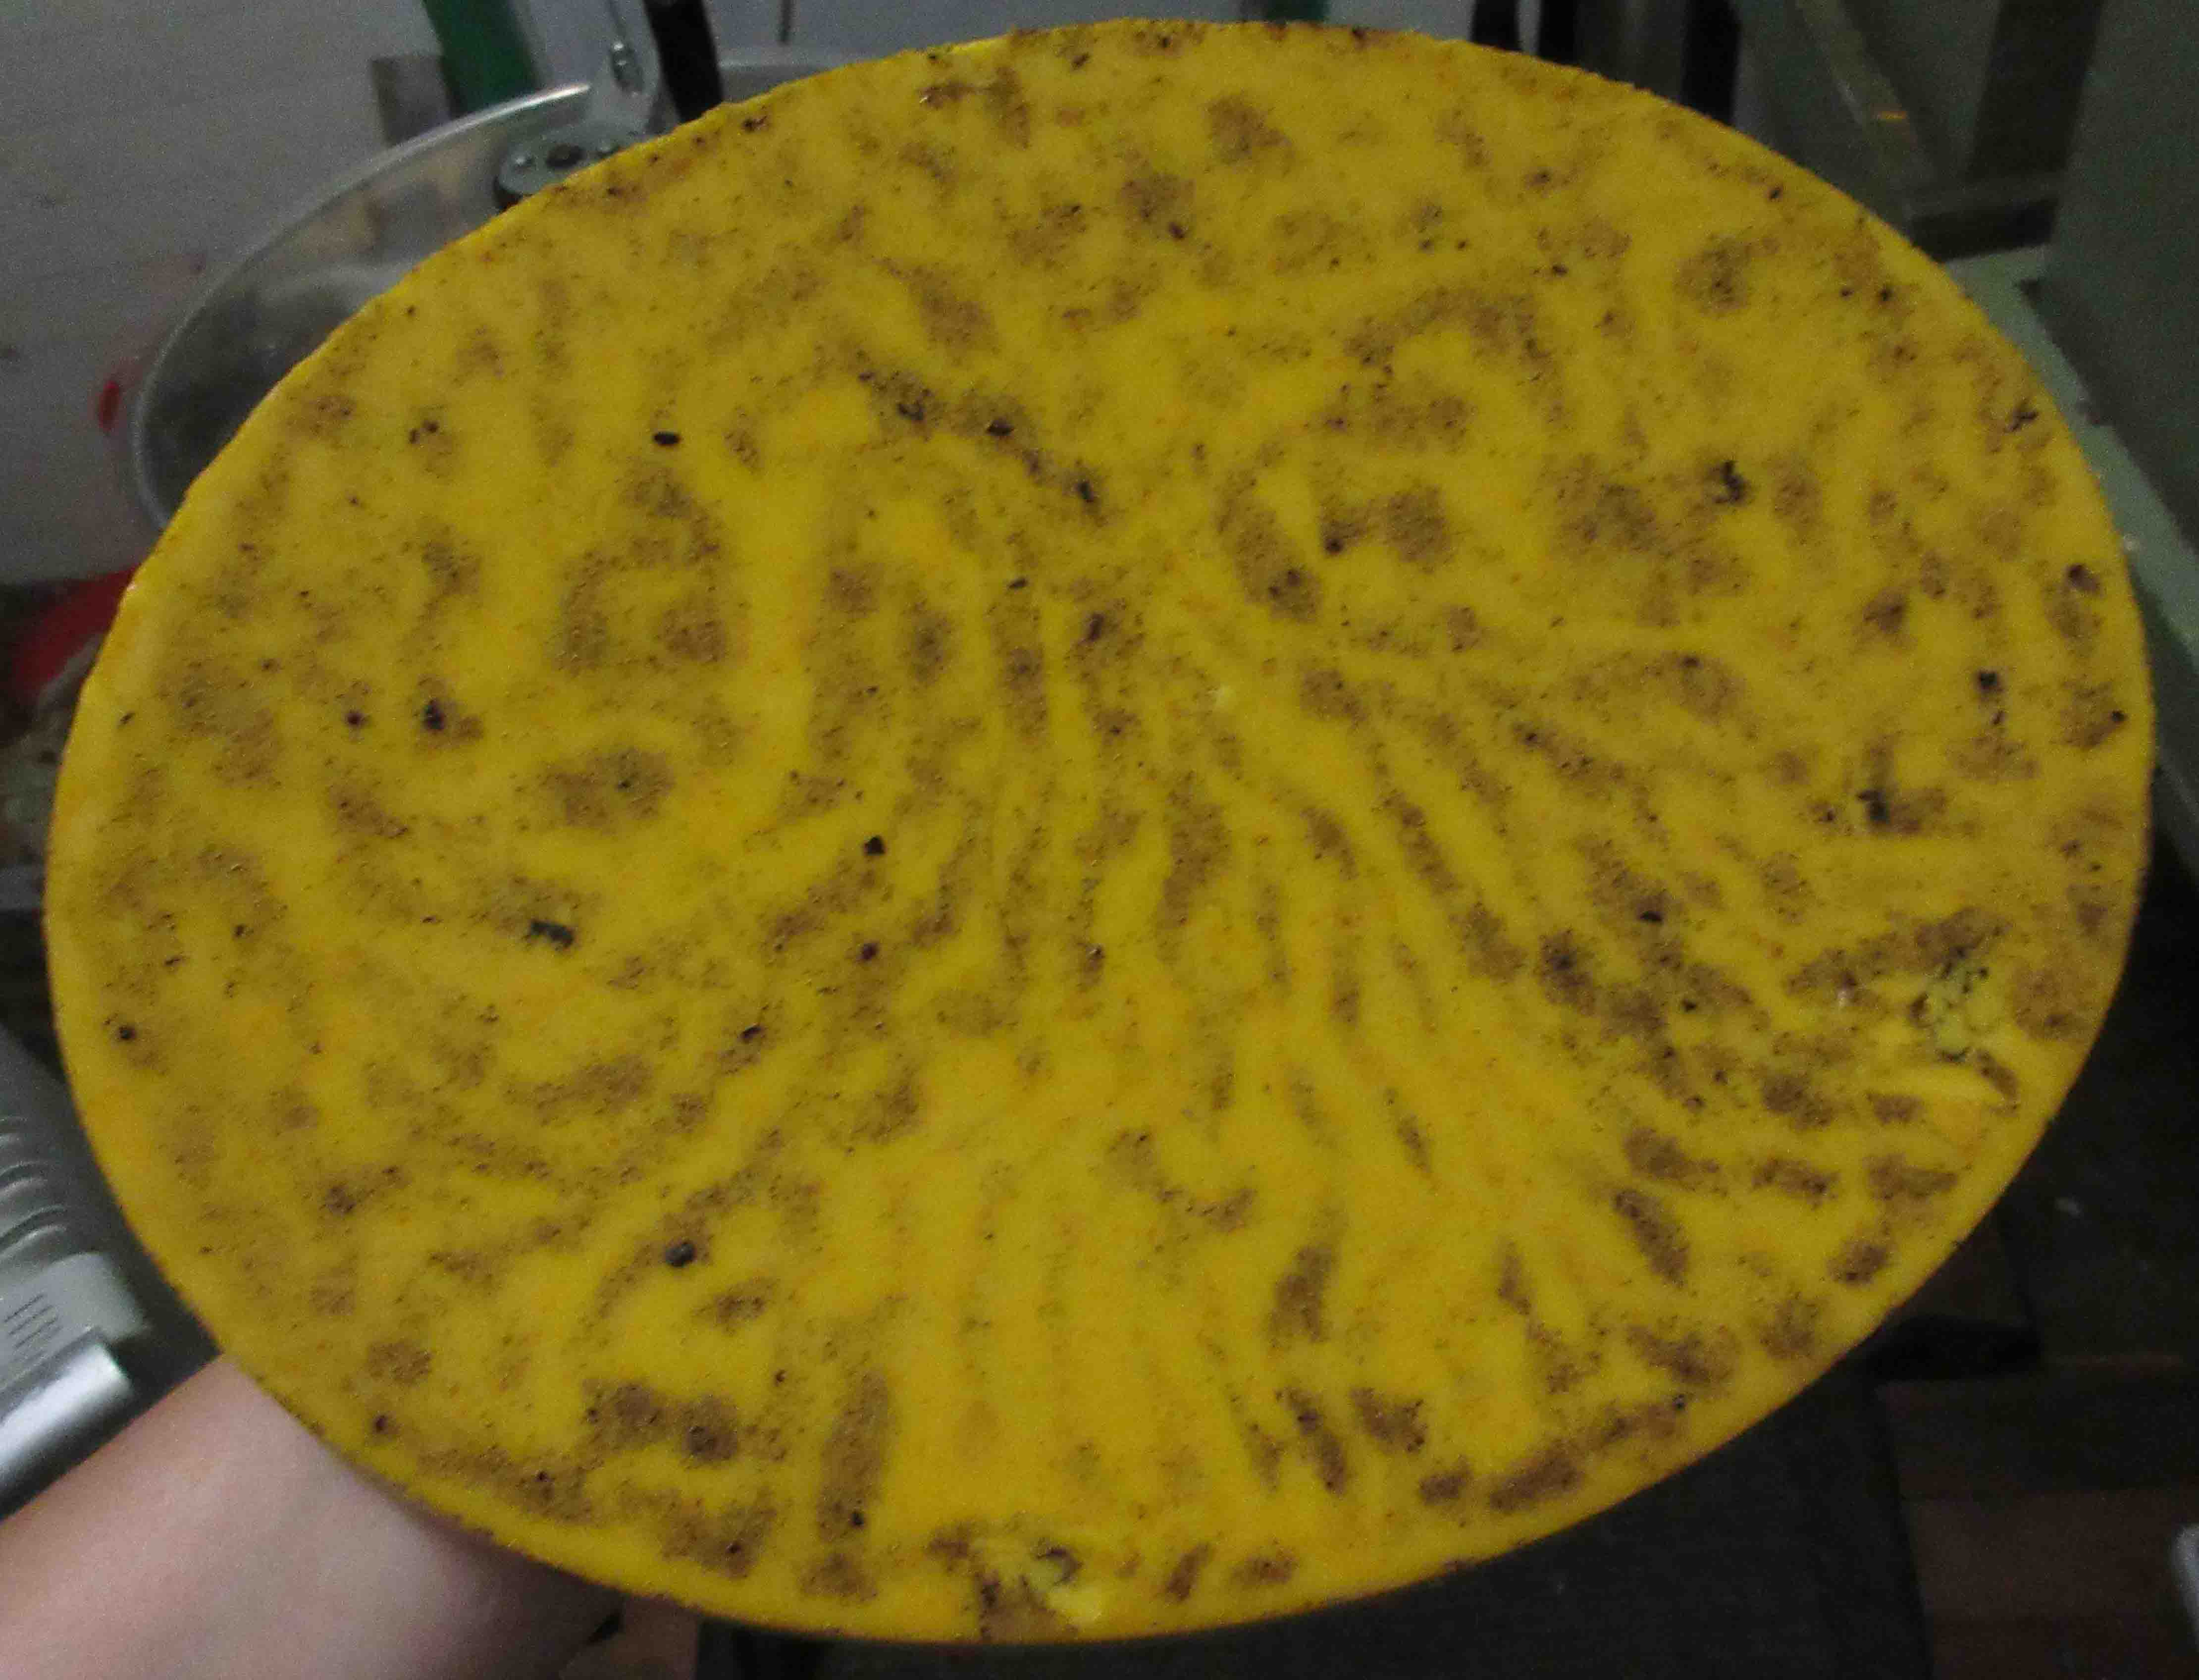 You’ll now have a nice oval of wax which is convenient for storing. There will likely be a small chunks of slumgum and cocoons embedded in the wax, but you can remove those during step two. If you’re going to store your wax, rinse thoroughly under lukewarm water to dislodge any residual honey and loose debris.
Step Two
 The second melt occurs in your double-boiler. I use a makeshift double-boiler so I don’t have to worry about ruining a pot. You can use a tin can, just be sure you’ve rigged it up so that it can’t tip over in your pot.
Place two to three inches of water in your bottom pot. Put your tin can in the water and put your wax from Step One into the can. Place the burner on high. Once the water starts to boil, turn the temperature down to medium. The water will remain hot enough to melt the wax without throwing boiling water into the can. Do not leave your wax unattended.
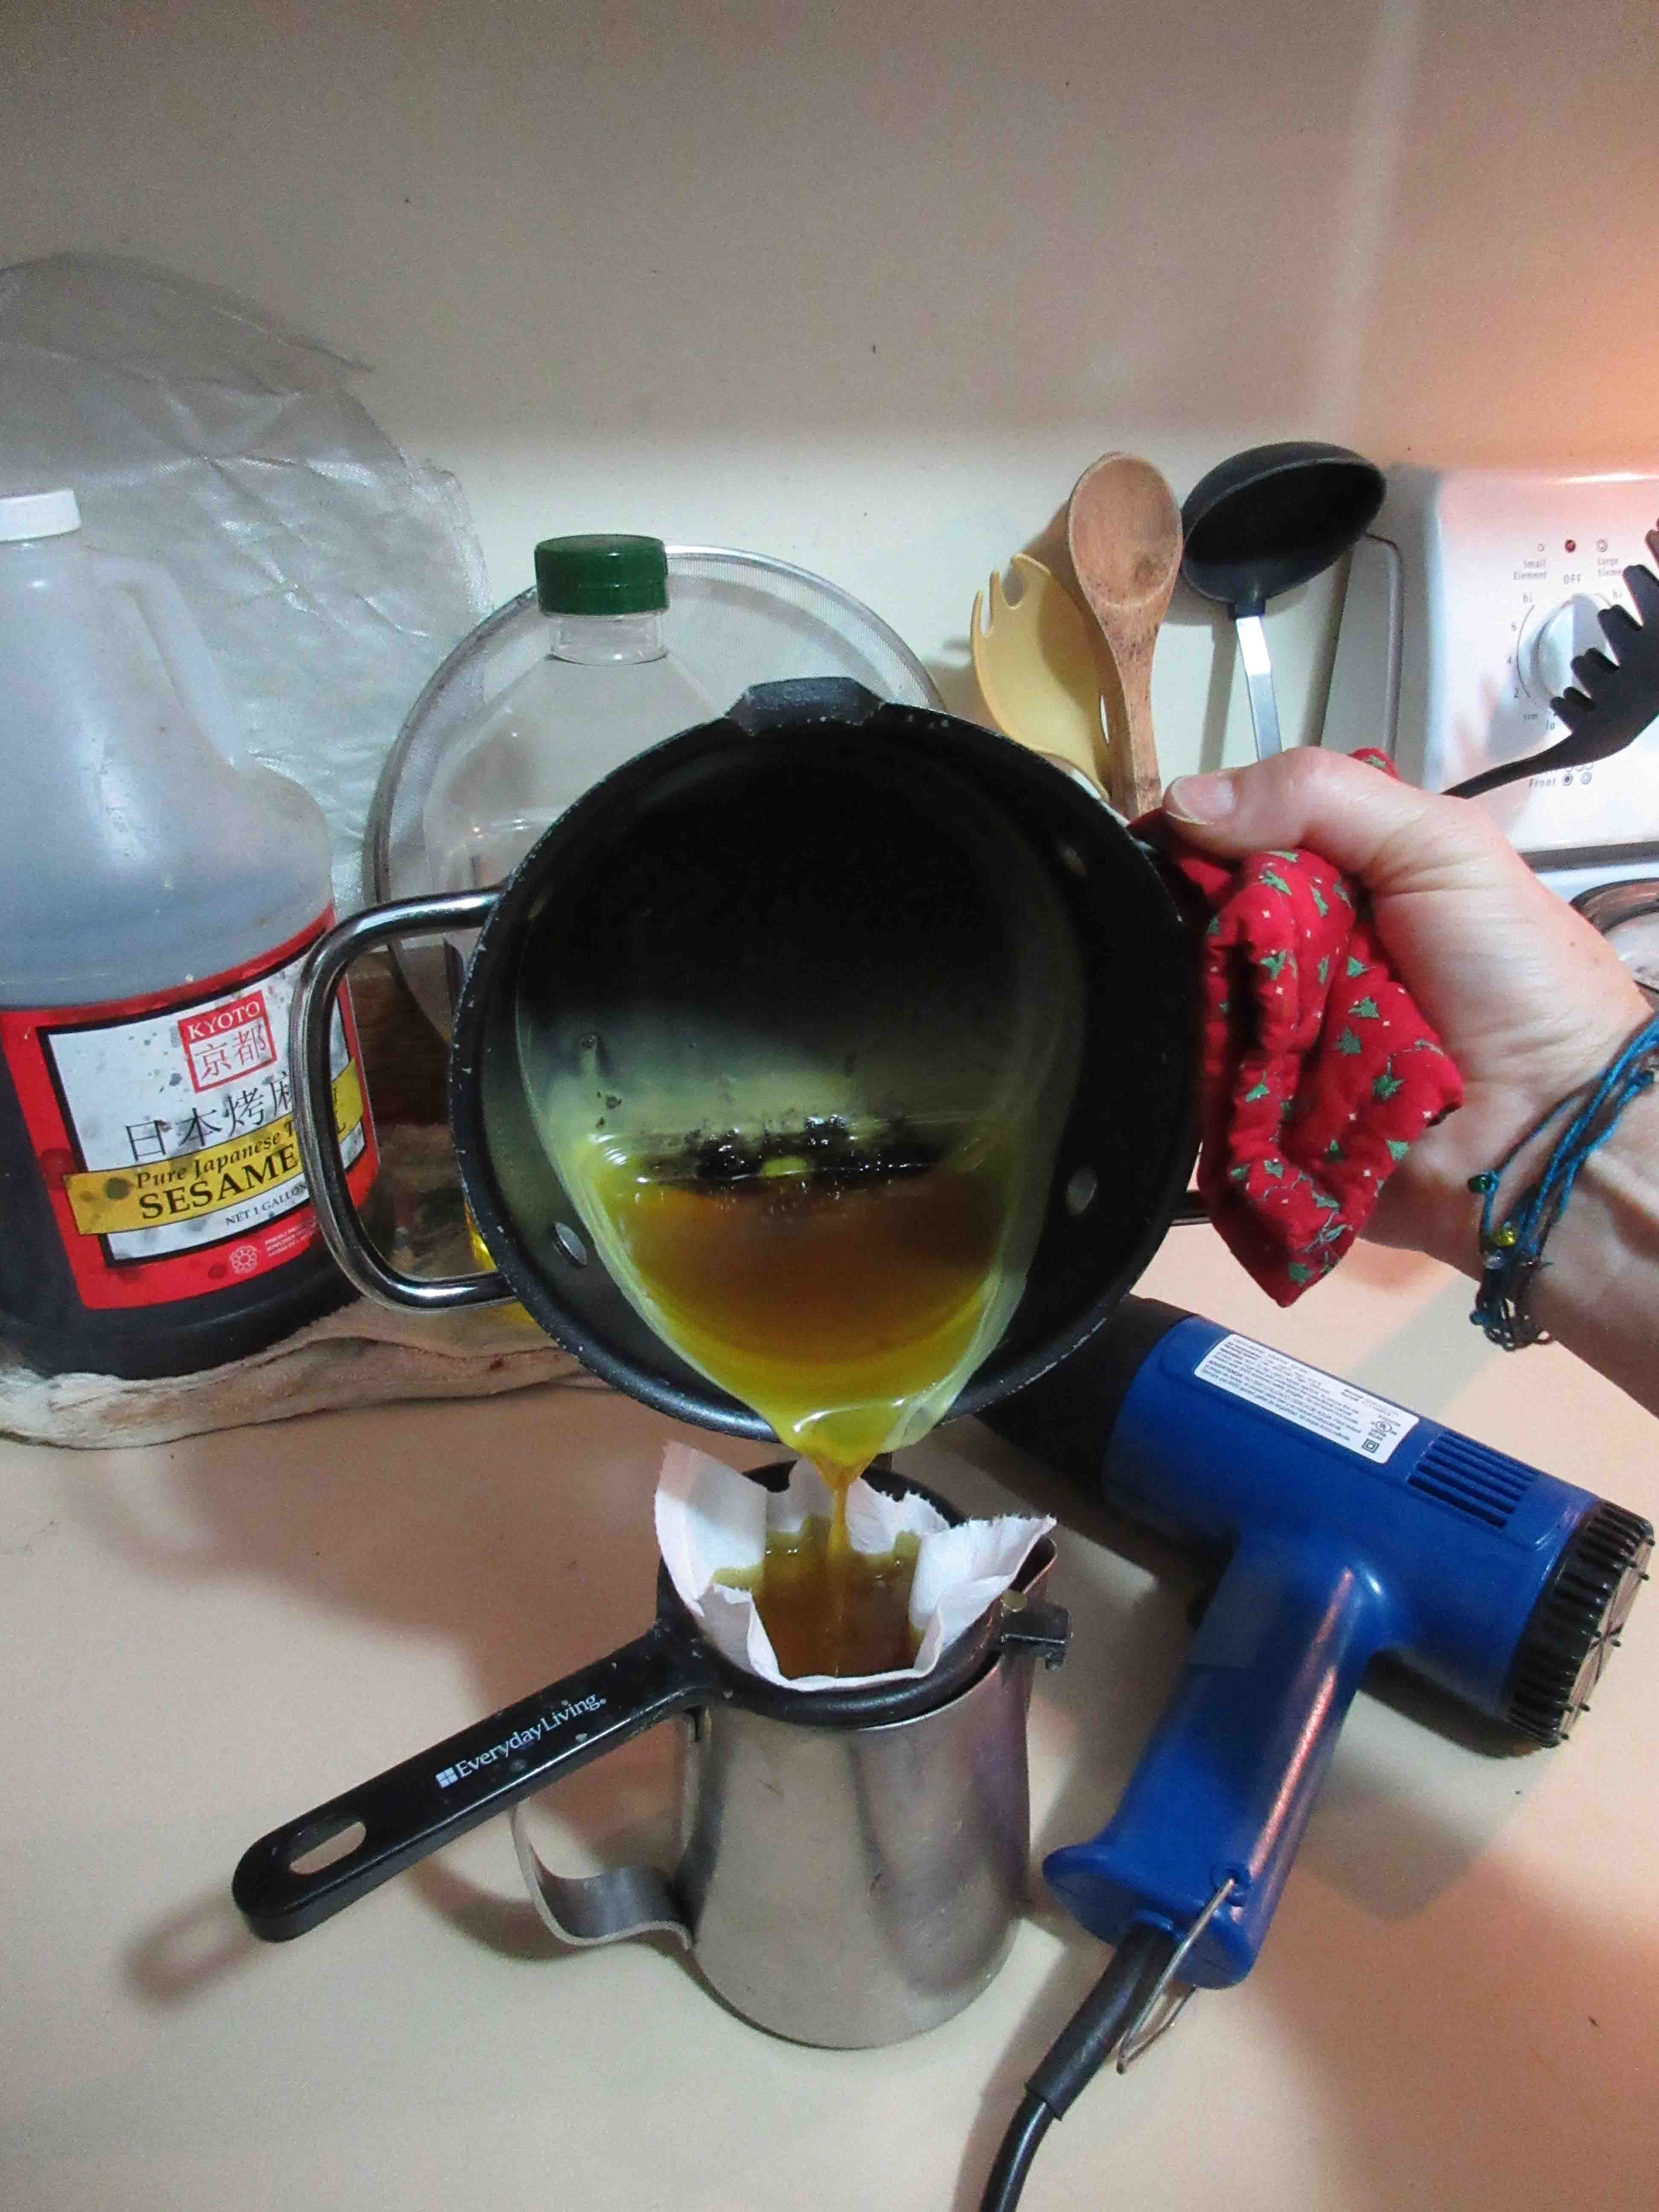 Once the wax is liquefied, line a fine mesh metal sieve with Charmin’s toilet paper and place the sieve over your second can. (My sister tested numerous materials as filters for cleaning wax and found Charmin to be the superior choice.) Place the can on a pot holder or some other insulating device to protect your countertop. Slowly and carefully pour the liquid wax through the filter into the second can. The wax will solidify as you work, clogging up your filter. The heat of the liquid wax that you’re pouring through will help to clear a path, but you can also use the heat gun on its lowest setting to get things flowing again. Be careful not to blow wet wax all over your work space.
Eventually the toilet paper will become clogged with slumgum. Twist up the dry corners of the toilet paper and press down to squeeze the remaining wax out of the slumgum, then toss the used toilet paper into a bag for later use as fire starter. You will likely go through several squares of Charmin before you’re finished filtering the wax.
Step Three
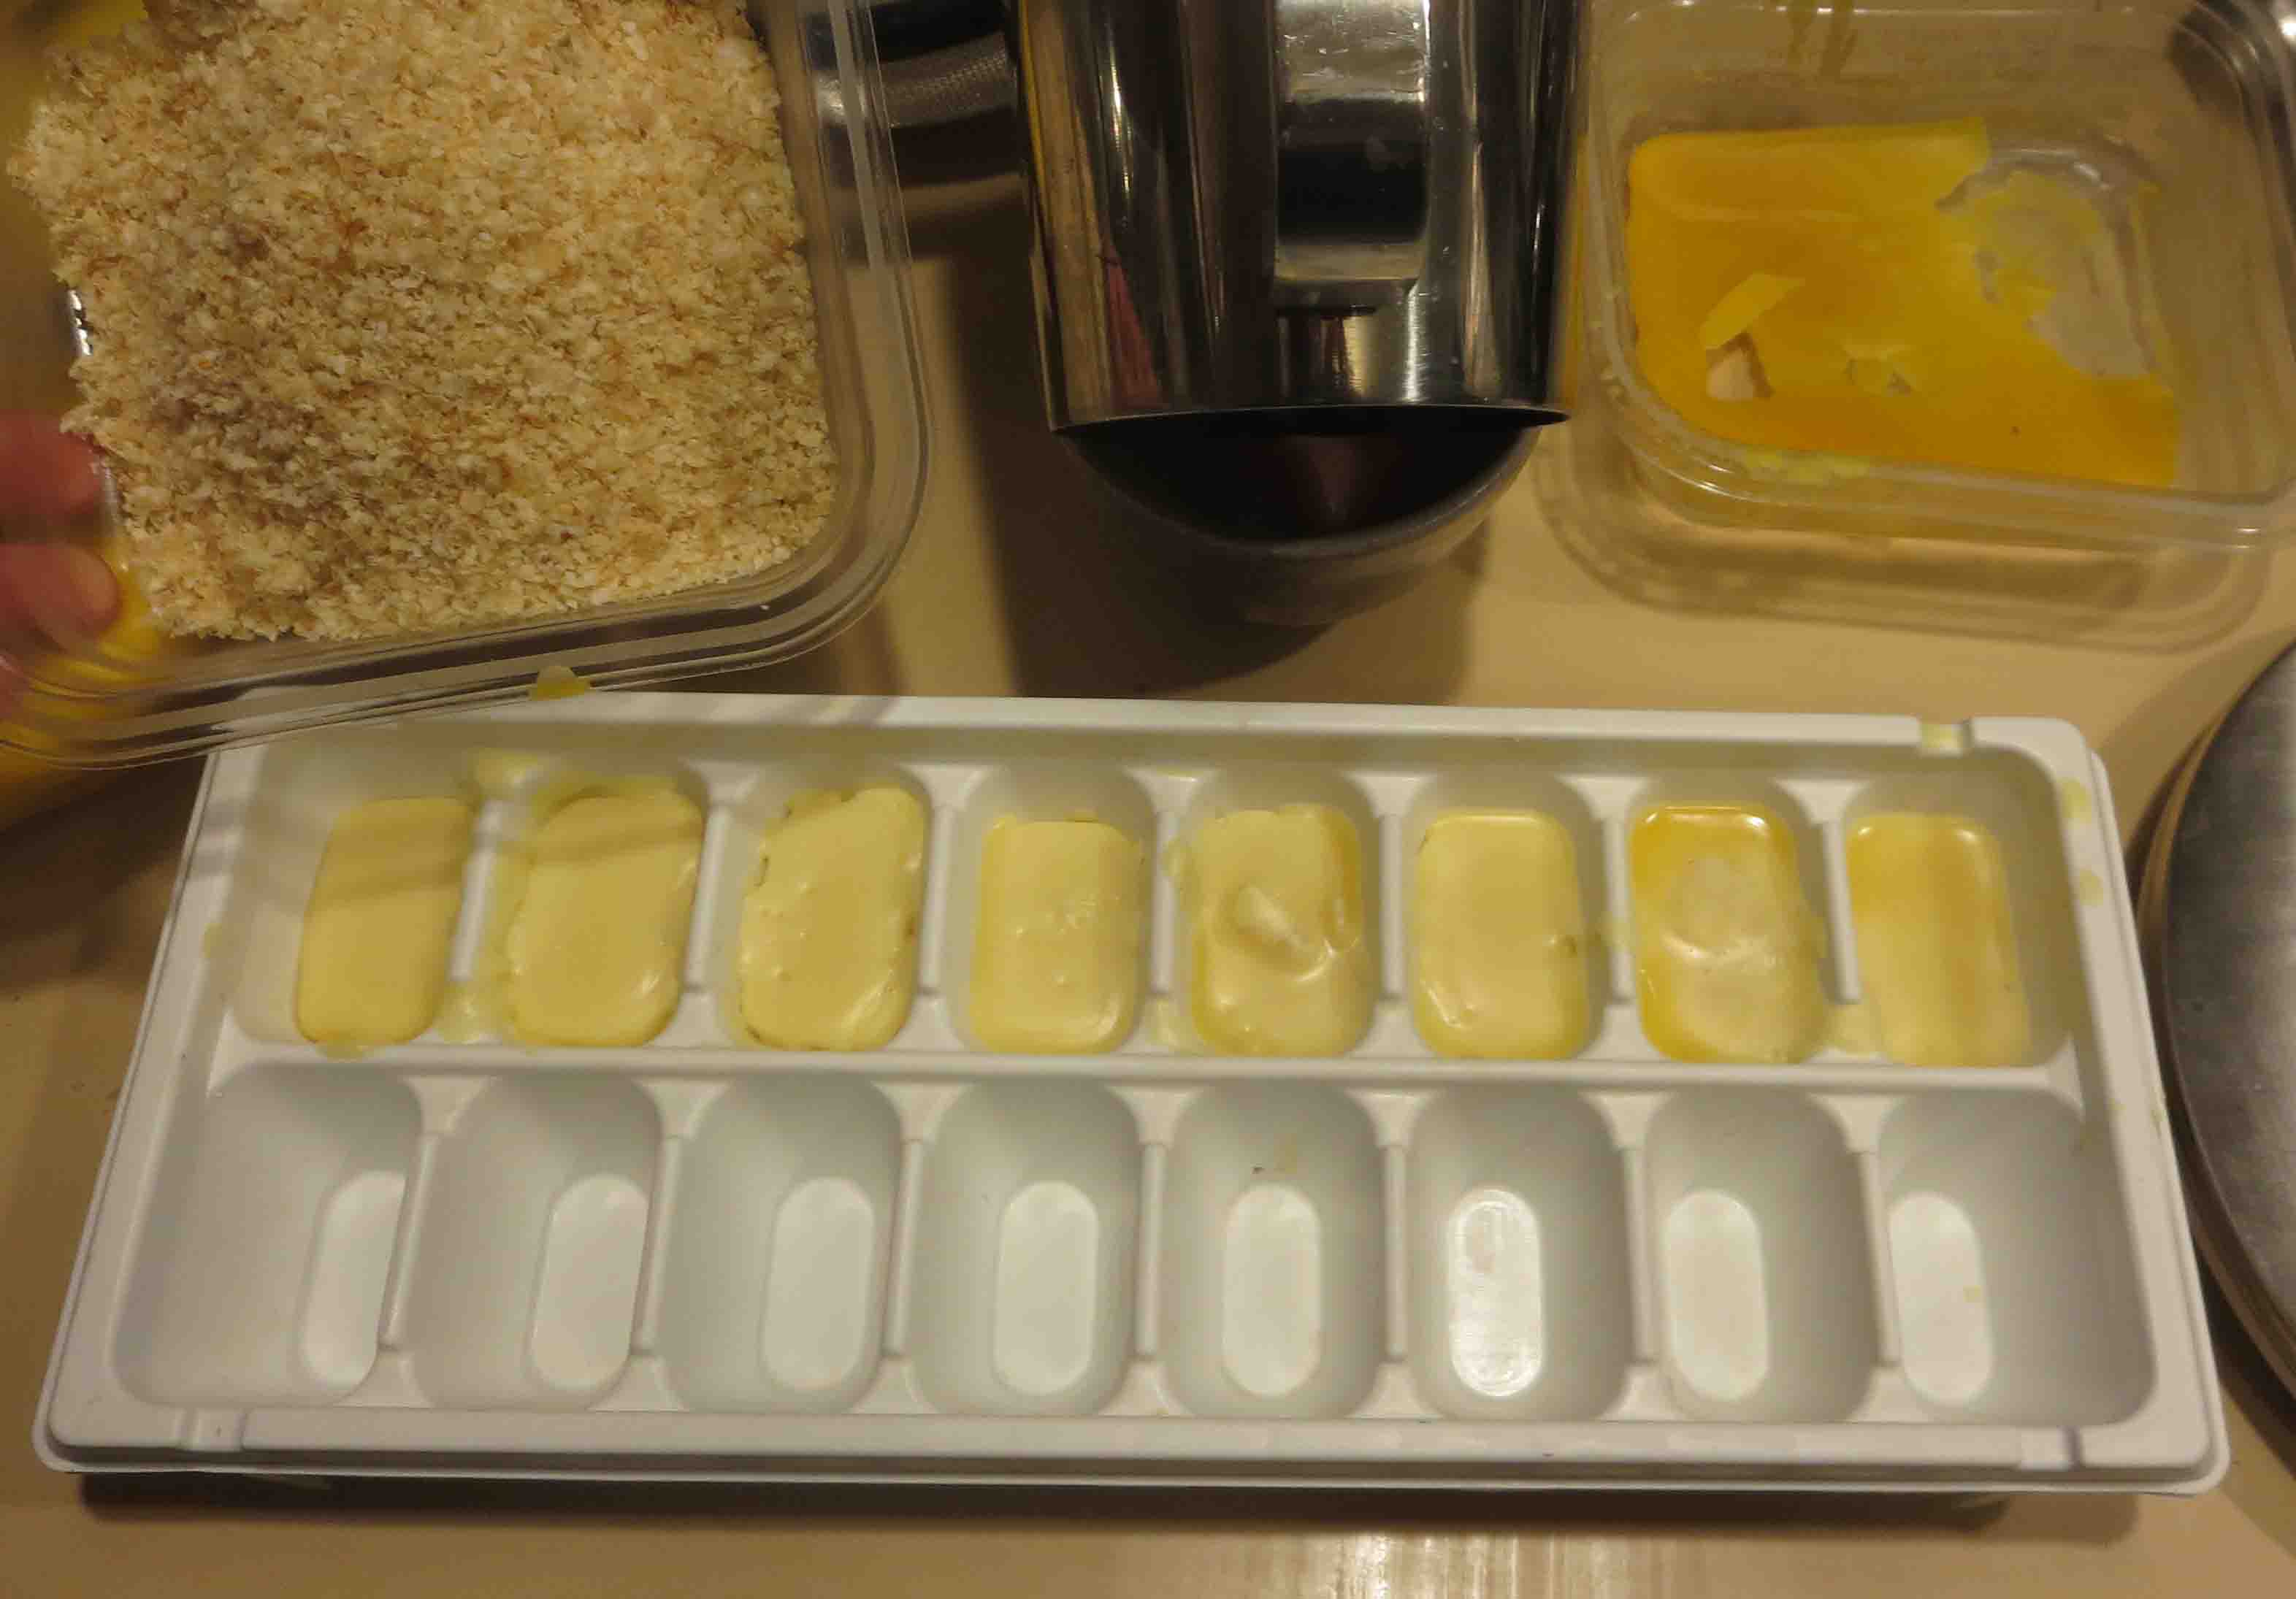 The third melt also occurs in your double-boiler. By the time you’ve finished filtering the wax, the first pours will have started to solidify. Place the can into the hot water of the double-boiler pot to re-melt. When it is sufficiently liquified, pour the clean wax into the squares of an ice cube tray or into your wax or candle mold.
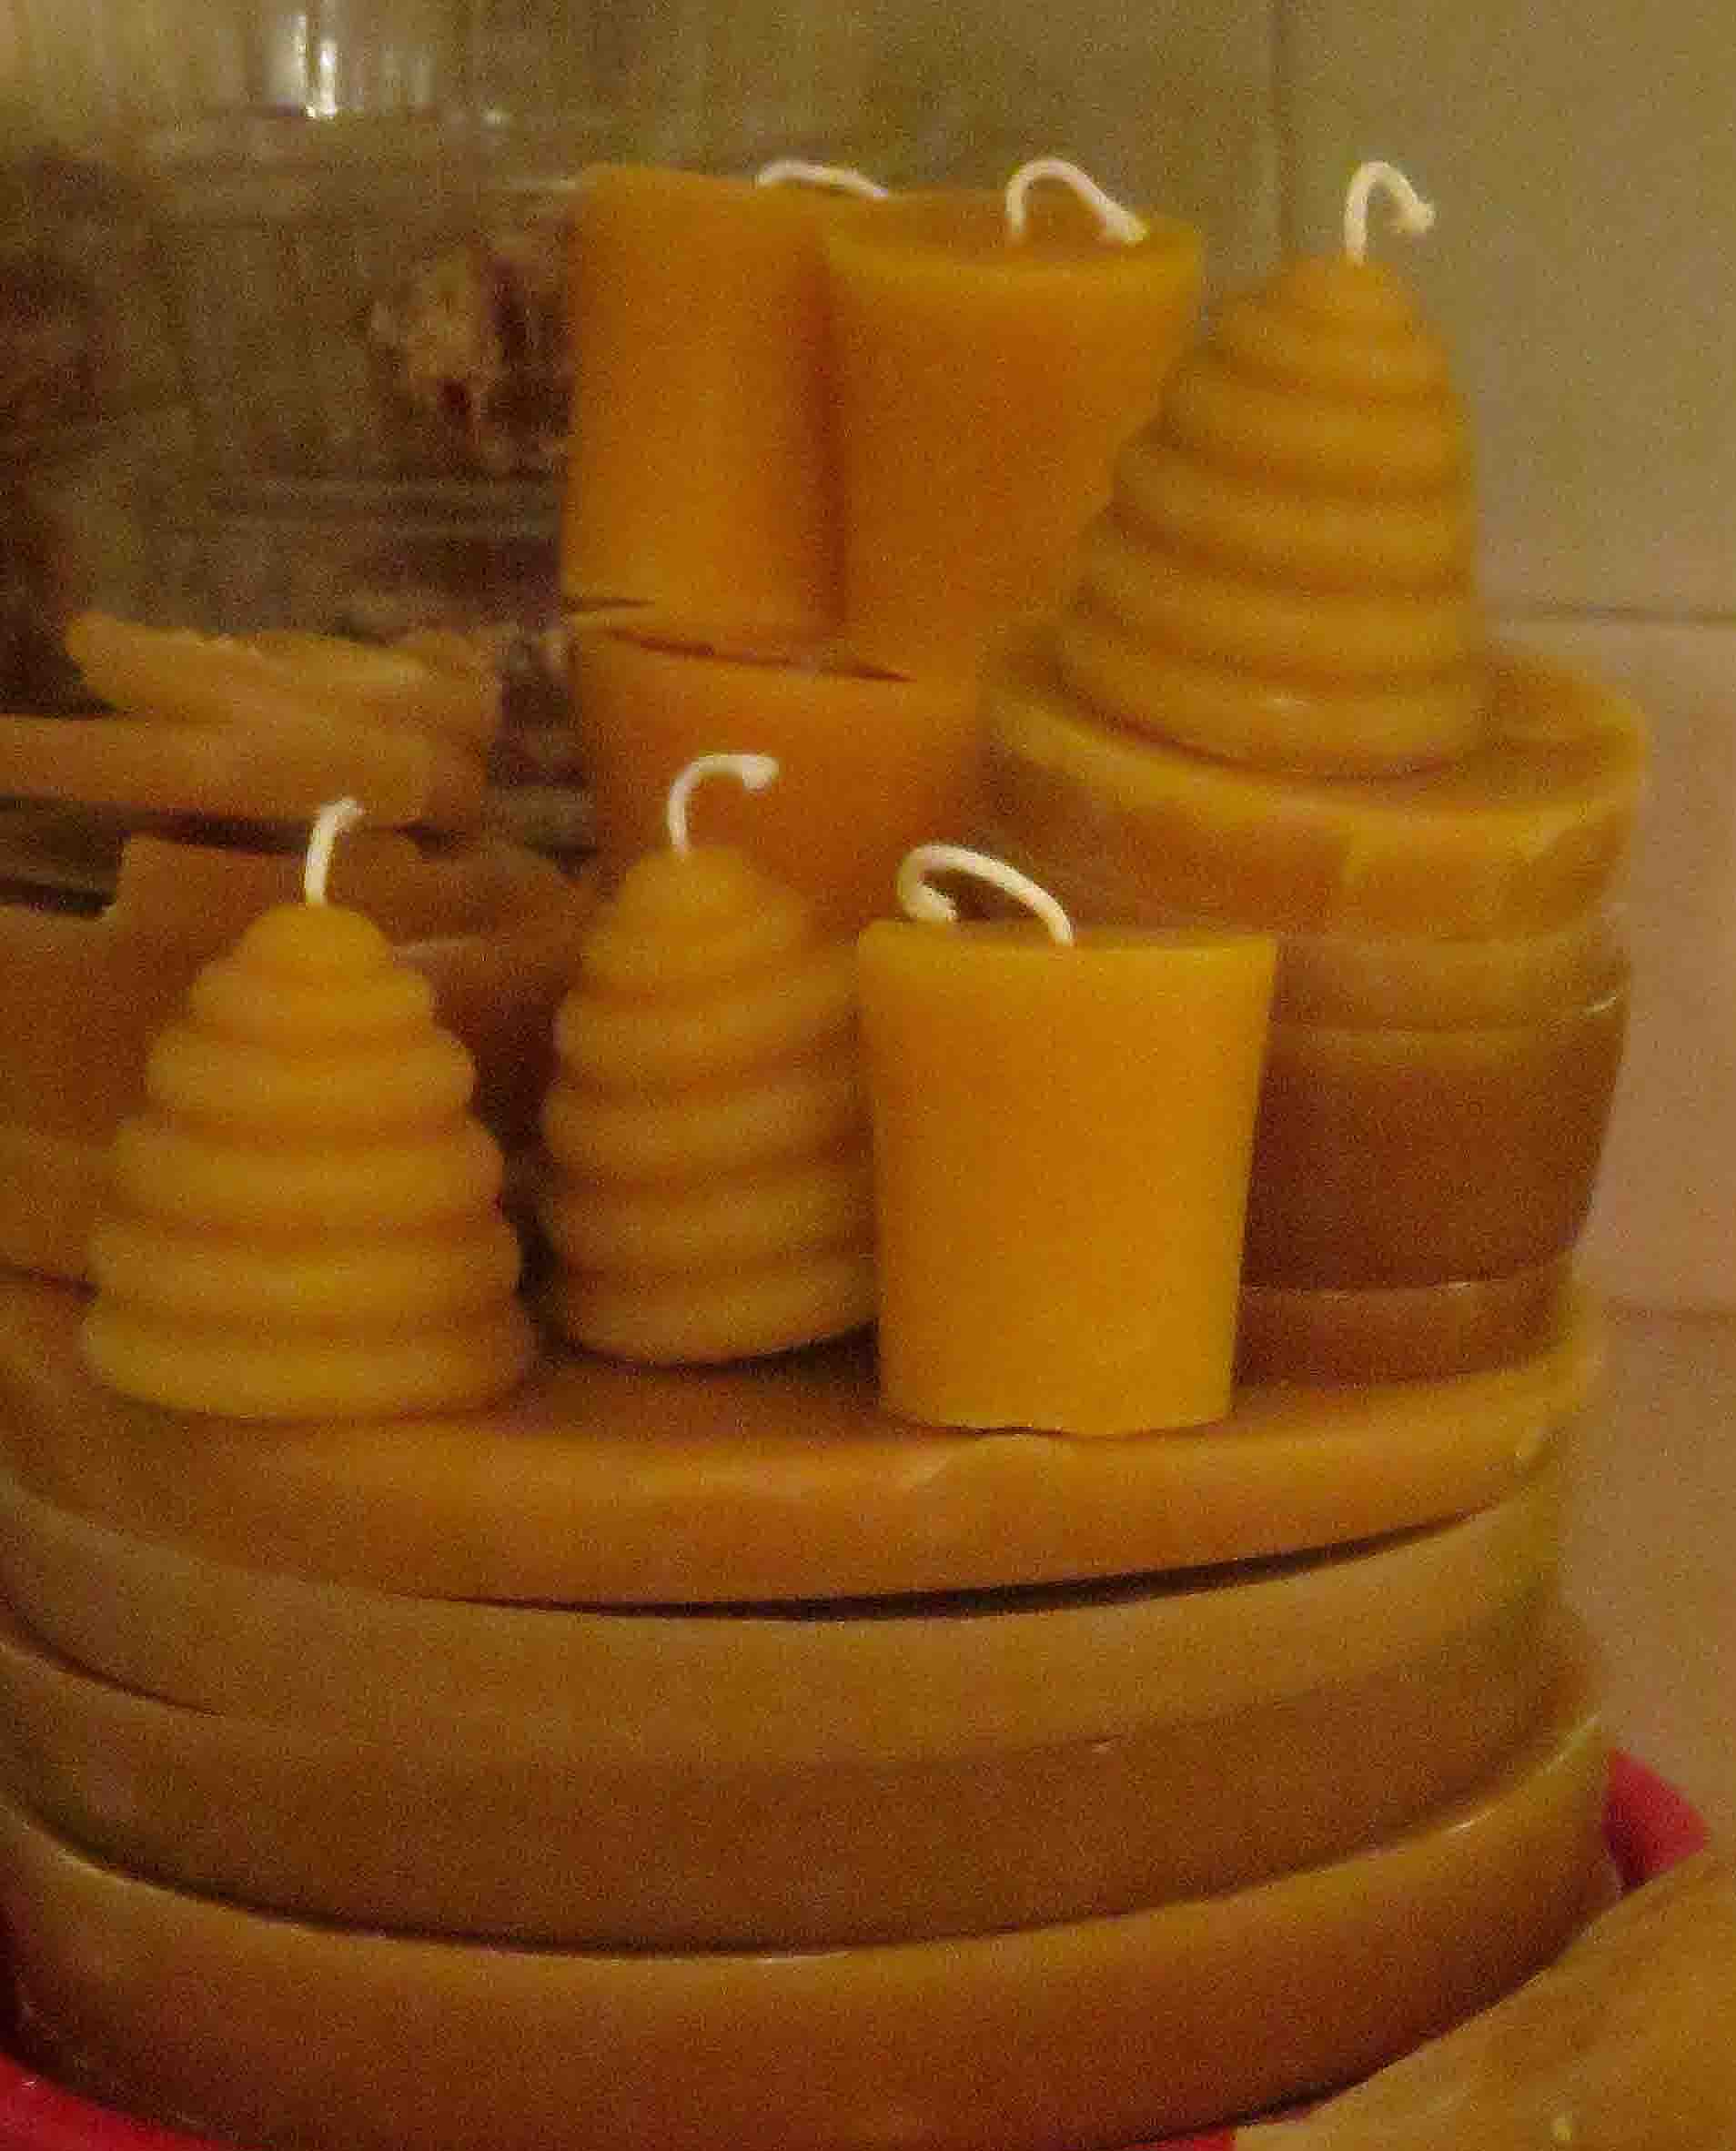
And that’s it – you’ve processed your wax! It’s a time-consuming process but it provides you with another product from the hive that you can use to make candles, lip balm, salve, and numerous other wax-based items.
I’d love to hear what you’re making with wax from your bees – please share resources in the comments below.